Do you want to know how to create a one page website? If your answer is yes, then this tutorial is for you!
You may think it is hard to keep all your important content on a single page without cluttering it.
We’ll help you avoid that and create a stunning single-page website effortlessly.
So, please stick with us until the end!
Why Create a One Page Website?
There are a lot of people who don’t need the burden of having page after page on their website.
It becomes a hard and tiring job to manage them all and have them compete against others in the market.
Here are a few reasons why a one-page website can be beneficial:
- It requires fewer resources and time than multi-page websites.
- The website’s performance, such as speed, is comparatively faster.
- You have less but enough content for a single page.
- It’s as cost-effective as creating and maintaining one, perfect for small business or personal use.
- It helps you send a focused message to your users without distracting them.
We’re sure you’re convinced how useful a single page website is. Now, let’s head on to creating one!
How to Create a One Page Website? (Step-by-Step Tutorial)
Below is a step-by-step guide on how to create a one page website. We’ve tried to make it as simple as we could for you!
Step 1: Register a Domain Name and Purchase Hosting
The first step is to register a domain name, i.e., a name for your website. For this, you’ll find several domain name registrars like Namecheap, Domain.com, GoDaddy, etc.
If you want to view more options, here’s an article on the best domain registrars.
However, we suggest registering your domain name with Bluehost if you ask us.

It’s a powerful hosting provider offering a free domain name for a year. So, you don’t need to worry about registering and getting hosting separately.
If you are confused between registering a domain name and purchasing hosting for your site, check out our article on the difference between web hosting and a domain name.
Contrarily, as per your requirements, you may choose other hosting providers, such as Hostinger, SiteGround, or Dreamhost.
Step 2: Install and Set Up WordPress
After registering your domain and purchasing the appropriate hosting, you can easily install and set up your WordPress website.
Check our article on how to install WordPress on your site.
Step 3: Choose the Right One Page WordPress Theme and Install It
In the next step, you must get an awesome one-page WordPress theme.
Lucky for you, we have a suggestion: Try the Flash theme! It includes the Flash OnePage template, which has almost everything you need to create a single page website.

The template is created using the page builder plugin, SiteOrigin. Hence, you must use the same plugin to change the demo.
Here’s why Flash is an optimal choice:
- Pre-built important sections with navigated menus
- Attractive gallery section with animations
- Simple yet attractive Contact Us section
- In-built search bar
Now that we’ve established the advantages of using Flash, let’s install the theme and set it up.
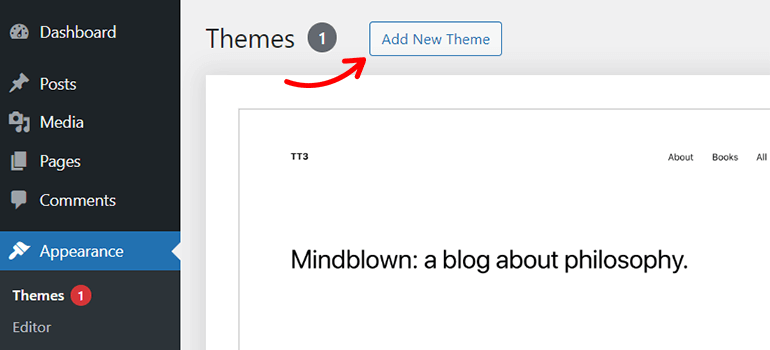
Firstly, go to the Appearance section from your WordPress dashboard and then to the Themes section.
On top, you’ll see a button for Add New Theme.

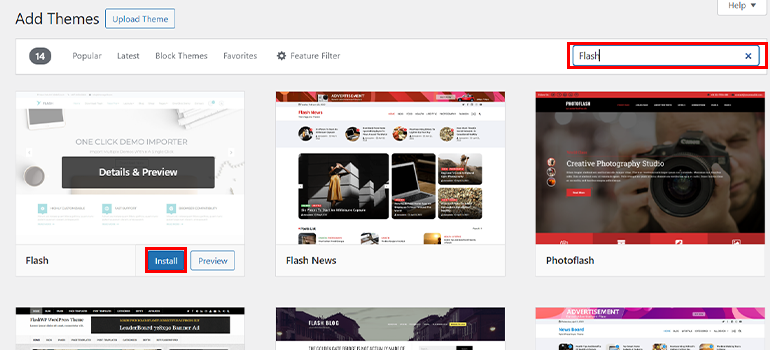
Then, on the right side, you’ll see a search bar.
Type in Flash. The theme will be listed first. Please install and activate it.
After the installation, you’ll see a welcome message and an option to Get Started with Flash.
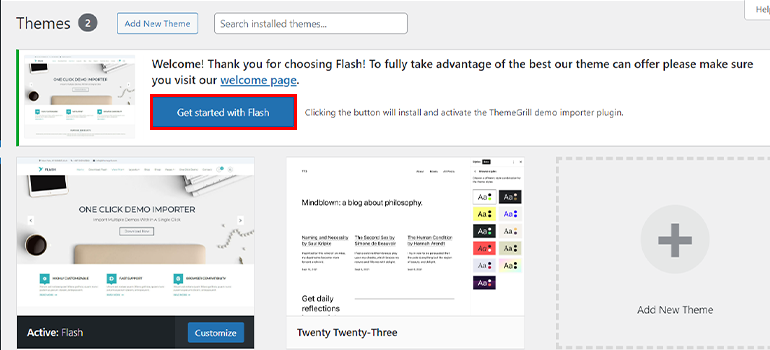
Clicking on the button will install the ThemeGrill Demo Importer plugin.
You’ll then be greeted with several templates you can import with a click.
Lucky for you, with Flash, you also get a free One Page website template. Thus, it’s perfect for beginners and users on a tight budget. Moreover, it eliminates the need to create a one page website from the ground.
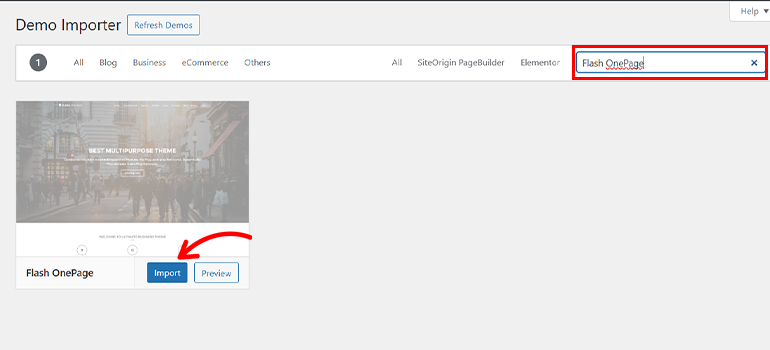
So, click the Import button at the bottom of the template, and you’re all set up.
Step 4: Add a New Section and Menu
The Flash theme comes with essential sections to make your work easier. However, not everything that meets your requirements can be there.
So, you must add a section and create a menu on the header for smooth navigation.
Here, we’ll give you an example of how we can add a gallery section to showcase beautiful images on our site.
As the template is created with SiteOrigin, we’ll use the same page builder’s help to create a menu.
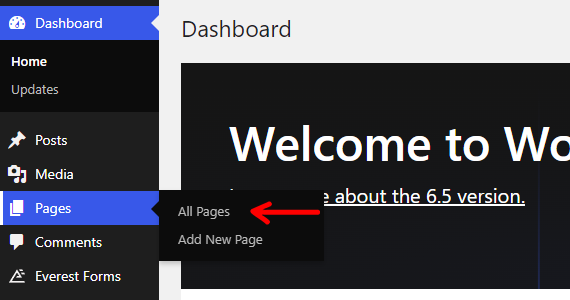
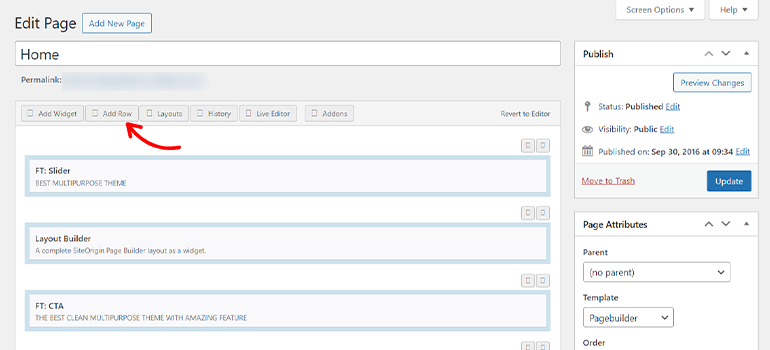
Head on over to the All Pages section from Pages. There, click on the Edit option from the Home page.
You’ll see an interface like this. Please don’t get confused by it. It feels a lot easier to work with than just looking at it.
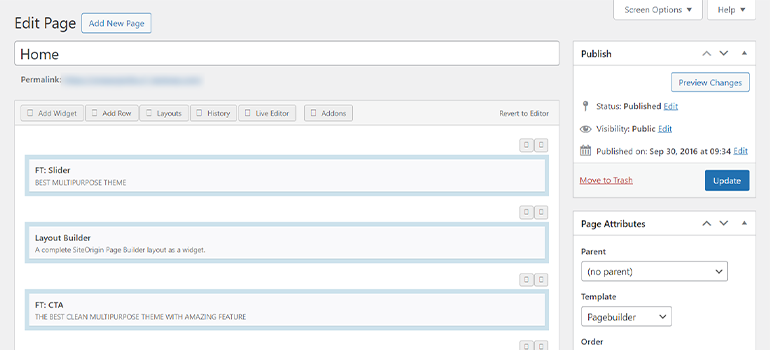
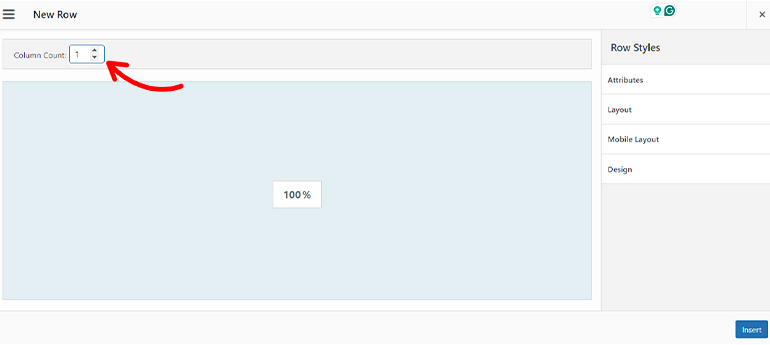
On this bar at the top, choose the “Add Row” option. You can select the number of columns you want to add to this row.
You can add up to 12. The plugin automatically divides the size among the columns, but you can manually divide it.
In this tutorial, we’ll add just 1 column to our gallery. After selecting the size, click on Insert.
You can drag the row up and down wherever you see fit.
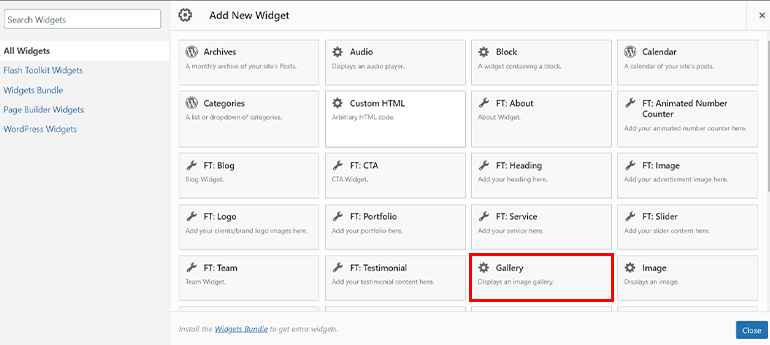
Next, click on the row. Then, head to the top and press the Add Widget button. You can select from a variety of widgets.
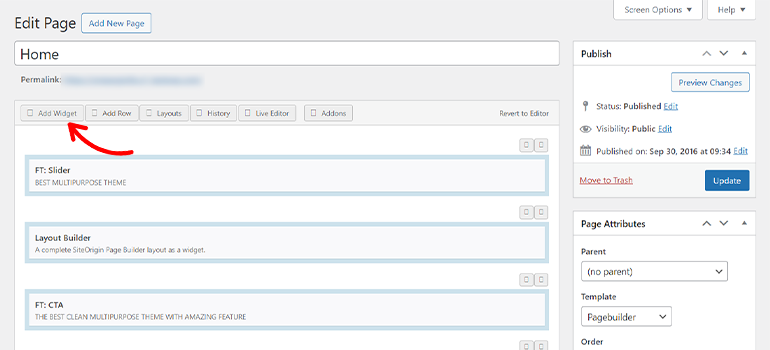
Let’s choose the Gallery widget from the library to add a gallery to our site.
After that, you’ll be asked to enter a title for it and add images to the widget.
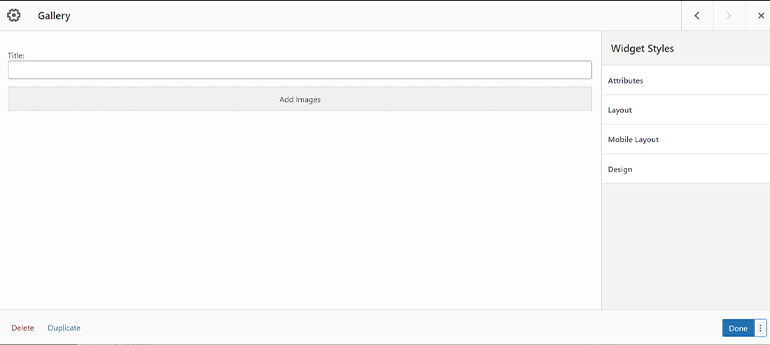
Upload the images you want to add to your site and click Done in the bottom right corner of your screen.
Reload your page, and you’ll see the changes.
Create a New Menu
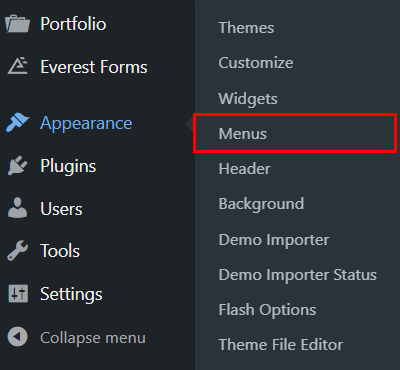
Go to Appearance >> Menus.
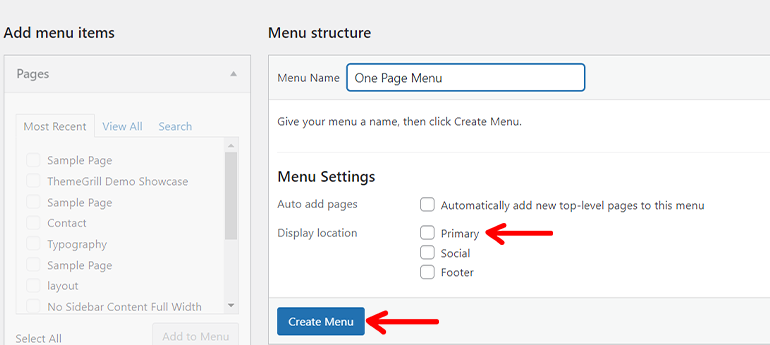
Delete the existing one and create a new one by naming it anything you want.
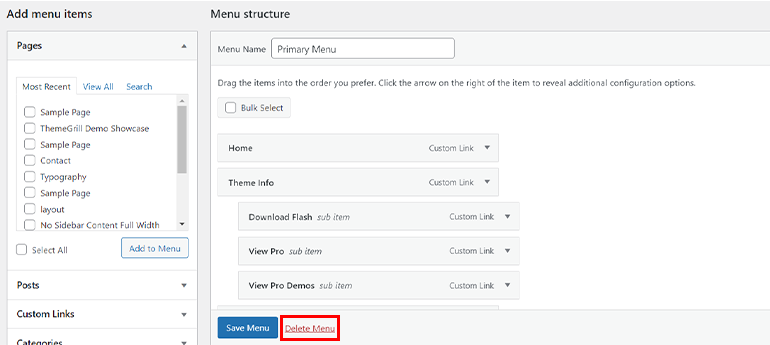
On the Menu Settings, you’ll find checkboxes to choose where to display the menu. Select the Primary option.
After that, click on the Create Menu button at the bottom.
There you have it, and a new menu is created to add navigations around your site.
Step 5: Add Menu Navigation
For seamless navigation around the page, you can add a custom ID that, upon click, will take the users to the designated section.
To do so, go to Pages >> All Pages. From there, click on edit for the main page.
Then, visit each section by clicking on Edit.
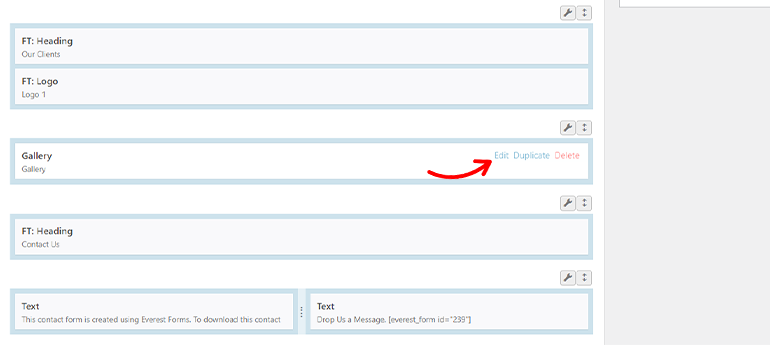
Select Attributes from the right-hand side, and on the Widget ID, add text to it to be used as a link.
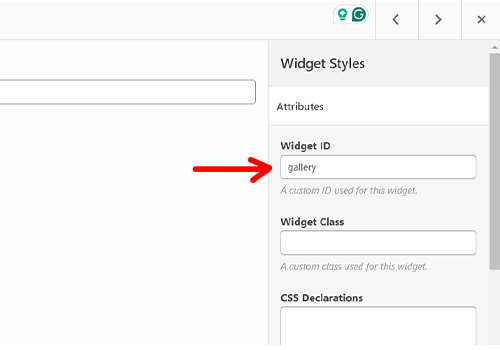
Then, press Done.
Do this for each section, and last, click on Update.
You’ve set up links for each section of your site so far. But how do you display them as menus?
To do that, go to Appearance >> Menus. Since we’ve already created a new menu from the previous step, go to Custom Links.
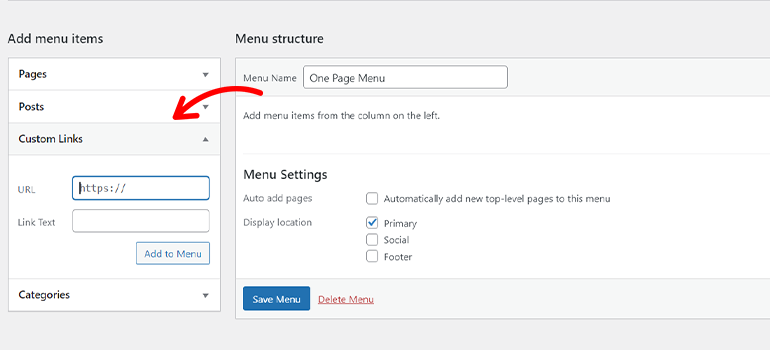
There, add the links for each section on the URL field and the text that highlights the section. After filling both fields, click on Add to Menu.
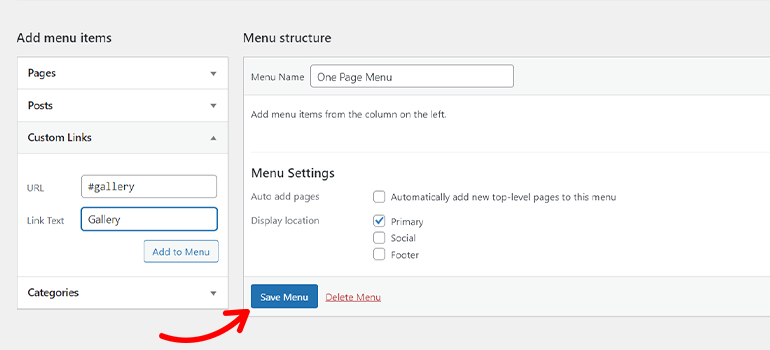
If you visit the front end of your page after this, hover over the menu at the top, and you’ll see a link attached to it.

Click on each menu to check whether you’re getting directed to the section that you’re meant to visit.
Step 6: Modify WordPress Settings
The next step in our tutorial on how to make a one page website is to modify the necessary WordPress settings.
Before publishing the website, we’ll need to configure a few important settings to improve the website’s overall performance.
Below, we’ve mentioned a few settings you can begin with!
1. Add a Unique Title and Tagline for Your Site
A unique title and tagline recognize your website and give the user a hint of what to expect.
They’re likely to stay engaged on your site when that’s attractive.
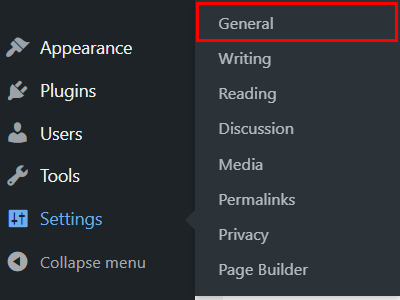
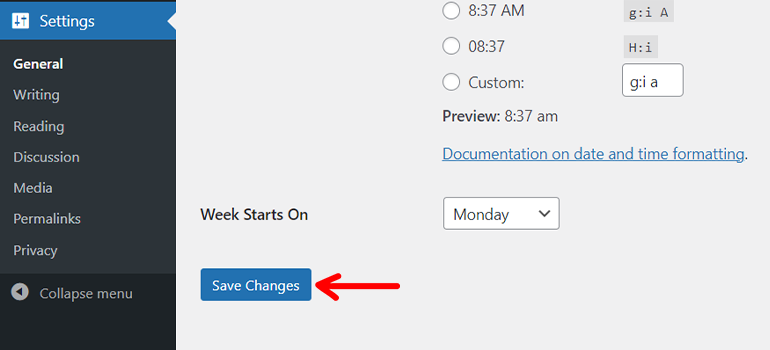
To add the title and tagline, go to Settings >> General.
You’ll see the area where you can change your title and tagline in the first two fields.
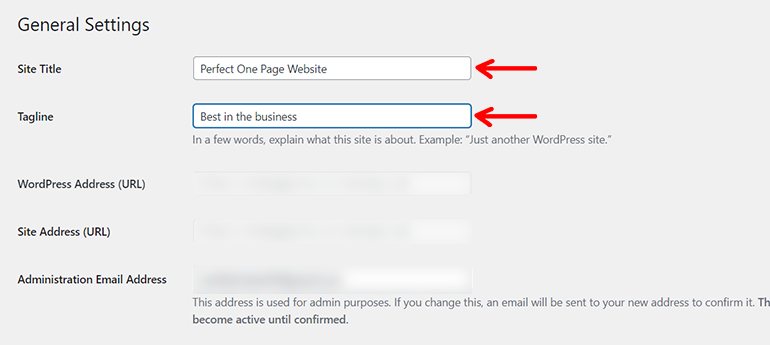
After you replace it, go to the bottom and click on Save Changes.
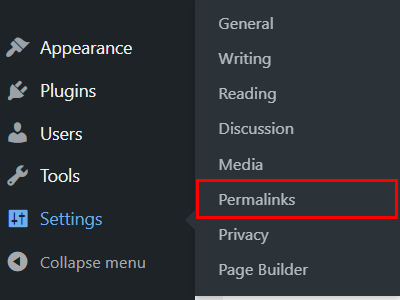
2. Configure Permalinks
WordPress sets a default URL that is cluttered and not SEO-friendly.
To fix these issues, head on over to Settings >> Permalinks.
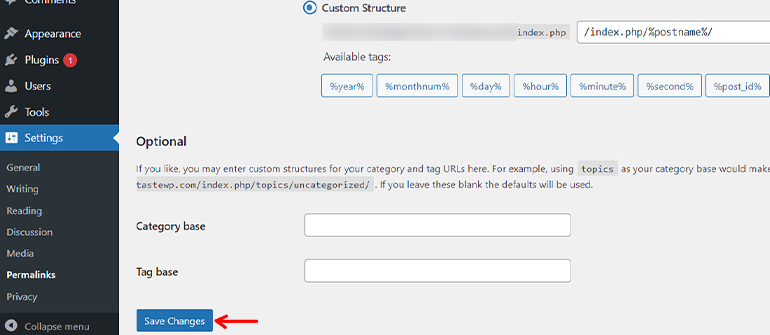
There, you’ll see a list of pre-defined permalink structures.
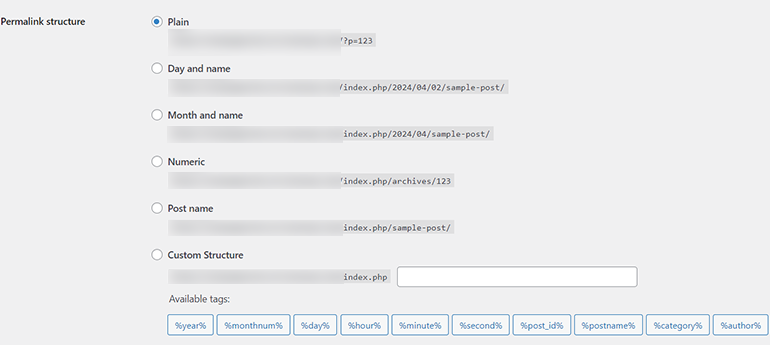
Choose one that you think is good and click the Save Changes button.
3. Enabling Search Engine Indexing
Previously, we discussed the importance of search engine optimization. By default, your website’s indexing is turned off.
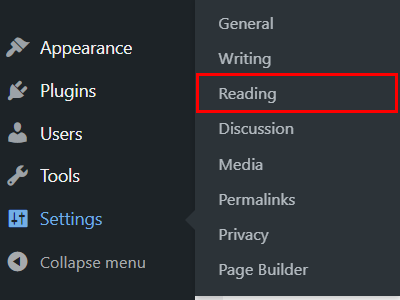
To enable it, go to Settings >> Reading.
You’ll see a checkbox next to Search Engine Visibility at the last option.
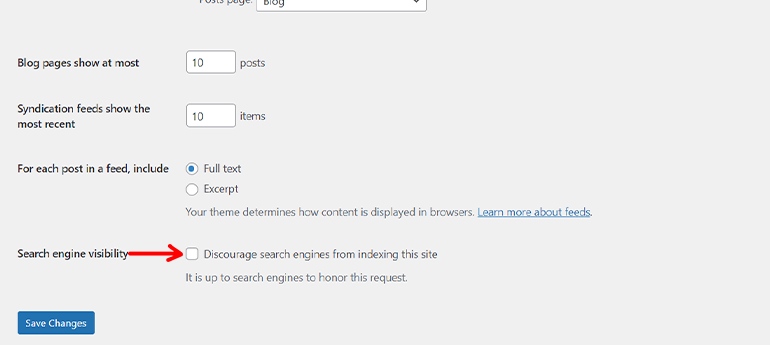
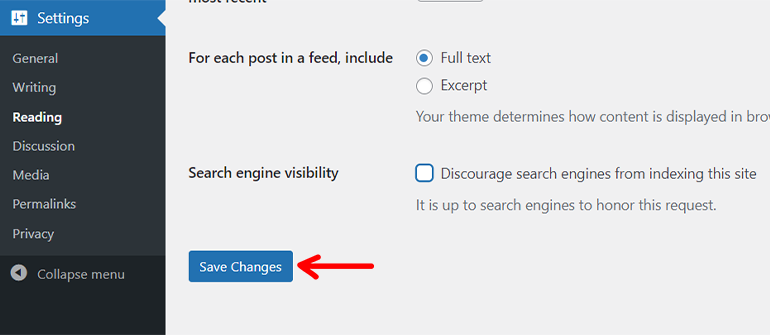
If it’s disabled, that’s fine. But if it’s enabled, disable it and click the Save Changes button.
It would be best if you went through these basic settings. This is a small part to play, but it is important in the long term.
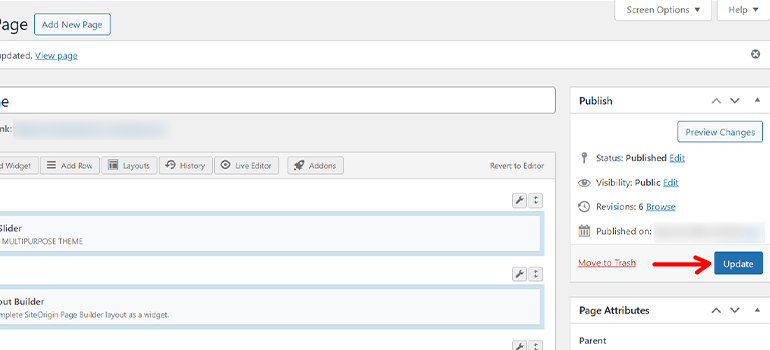
Step 7: Publish Your Single-Page Site
After you’ve made and implemented the necessary changes and are ready to take the final leap, click Update on the right.
You’ll see the changes you’ve made at the front end. If you see something that’s not what you desire, modify it and save the changes again.
So, this is how you create a one page website on WordPress.
BONUS: Essential Plugins to Install on Your Single Page Website
To enhance the functionality of your one-page website, you can also install some essential WordPress plugins on your website.
Luckily, we’ve got a few recommendations that can be a lifesaver to you.
1. Yoast SEO
Just creating a site doesn’t guarantee an audience. You’ll need to optimize it so users can find your website at the top of search results.
Yoast SEO is one of the best SEO plugins to do so. It’ll ensure your single page site reaches your targeted audiences and drives traffic to your site.
2. UpdraftPlus
You’re probably concerned about all the harmful and notorious activities happening online. You’ll need a strong tool to back up all your stuff.
UpdraftPlus is a powerful backup plugin that comes in handy as it integrates with multiple cloud storage options to protect your backup in case your one page site gets attacked.
3. WP Rocket
Only creating a website and adding content to it isn’t a healthy thing to do. You’ll need to keep your site optimized for speed.
WP Rocket is a caching plugin that optimizes the loading time and Core Web Vitals. A one page website is fast. But with this plugin, your site becomes much quicker.
4. User Registration
The User Registration plugin is an advanced user registration and management plugin. It allows you to create user IDs, dynamic forms, and more.
If you’re want to create a single page site with a membership feature, User Registration is the perfect tool.
5. OptinMonster
Lastly, if you’re looking to generate subscribers, leads, and sales, OptinMonster does it!
It’s an amazing lead-generation plugin used to grow email lists, improve web conversions, etc. This allows you to run email campaigns for your viewers.
Summarizing How to Create a One Page Website!
Coming to an end, let’s revise what we’ve learned throughout this article.
We learned about domain registration, hosting, creating a single-page website, essential WordPress settings and plugins, etc.
We used the Flash theme, as its single-page website template is the perfect choice for quickly creating a great site.
If you still have time, we suggest you explore more of our blogs on creating restaurant sites, and real estate websites in WordPress.
We hope we successfully guided you on how to create a one page website by yourself.
If you’ve any queries, feel free to let us know!